Bantam Tools Software Updates: What's New in the 2.2.23 Release
In the May release of our Bantam Tools Milling Machine Software (2.2.23), we’ve added a new Conversational CAM feature and updated our software workflow. Let’s take a closer look at these new features.
Conversational CAM Text
*For Software Subscribers*
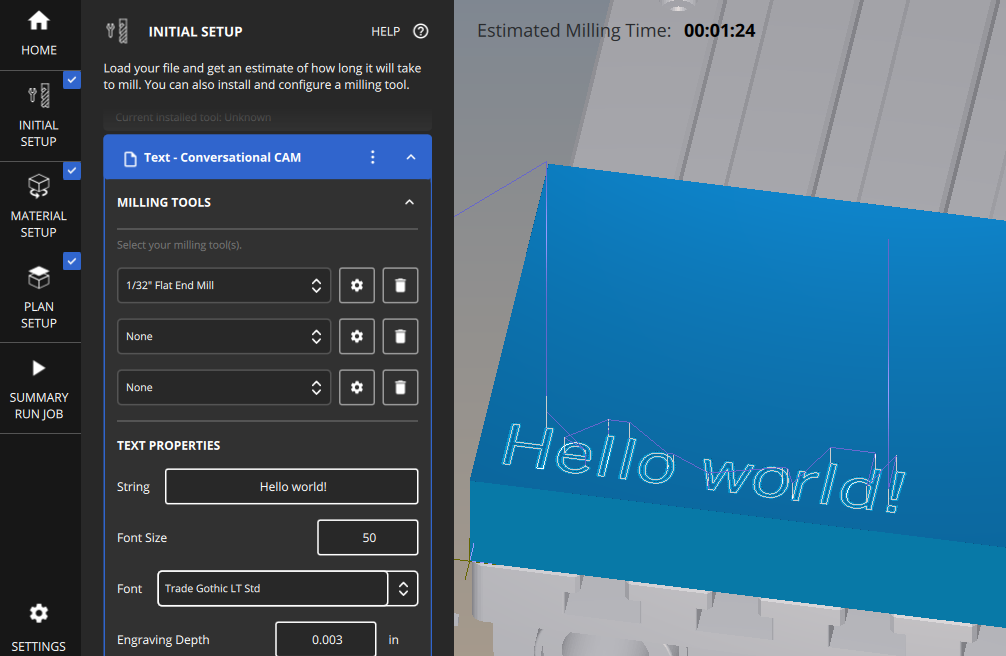
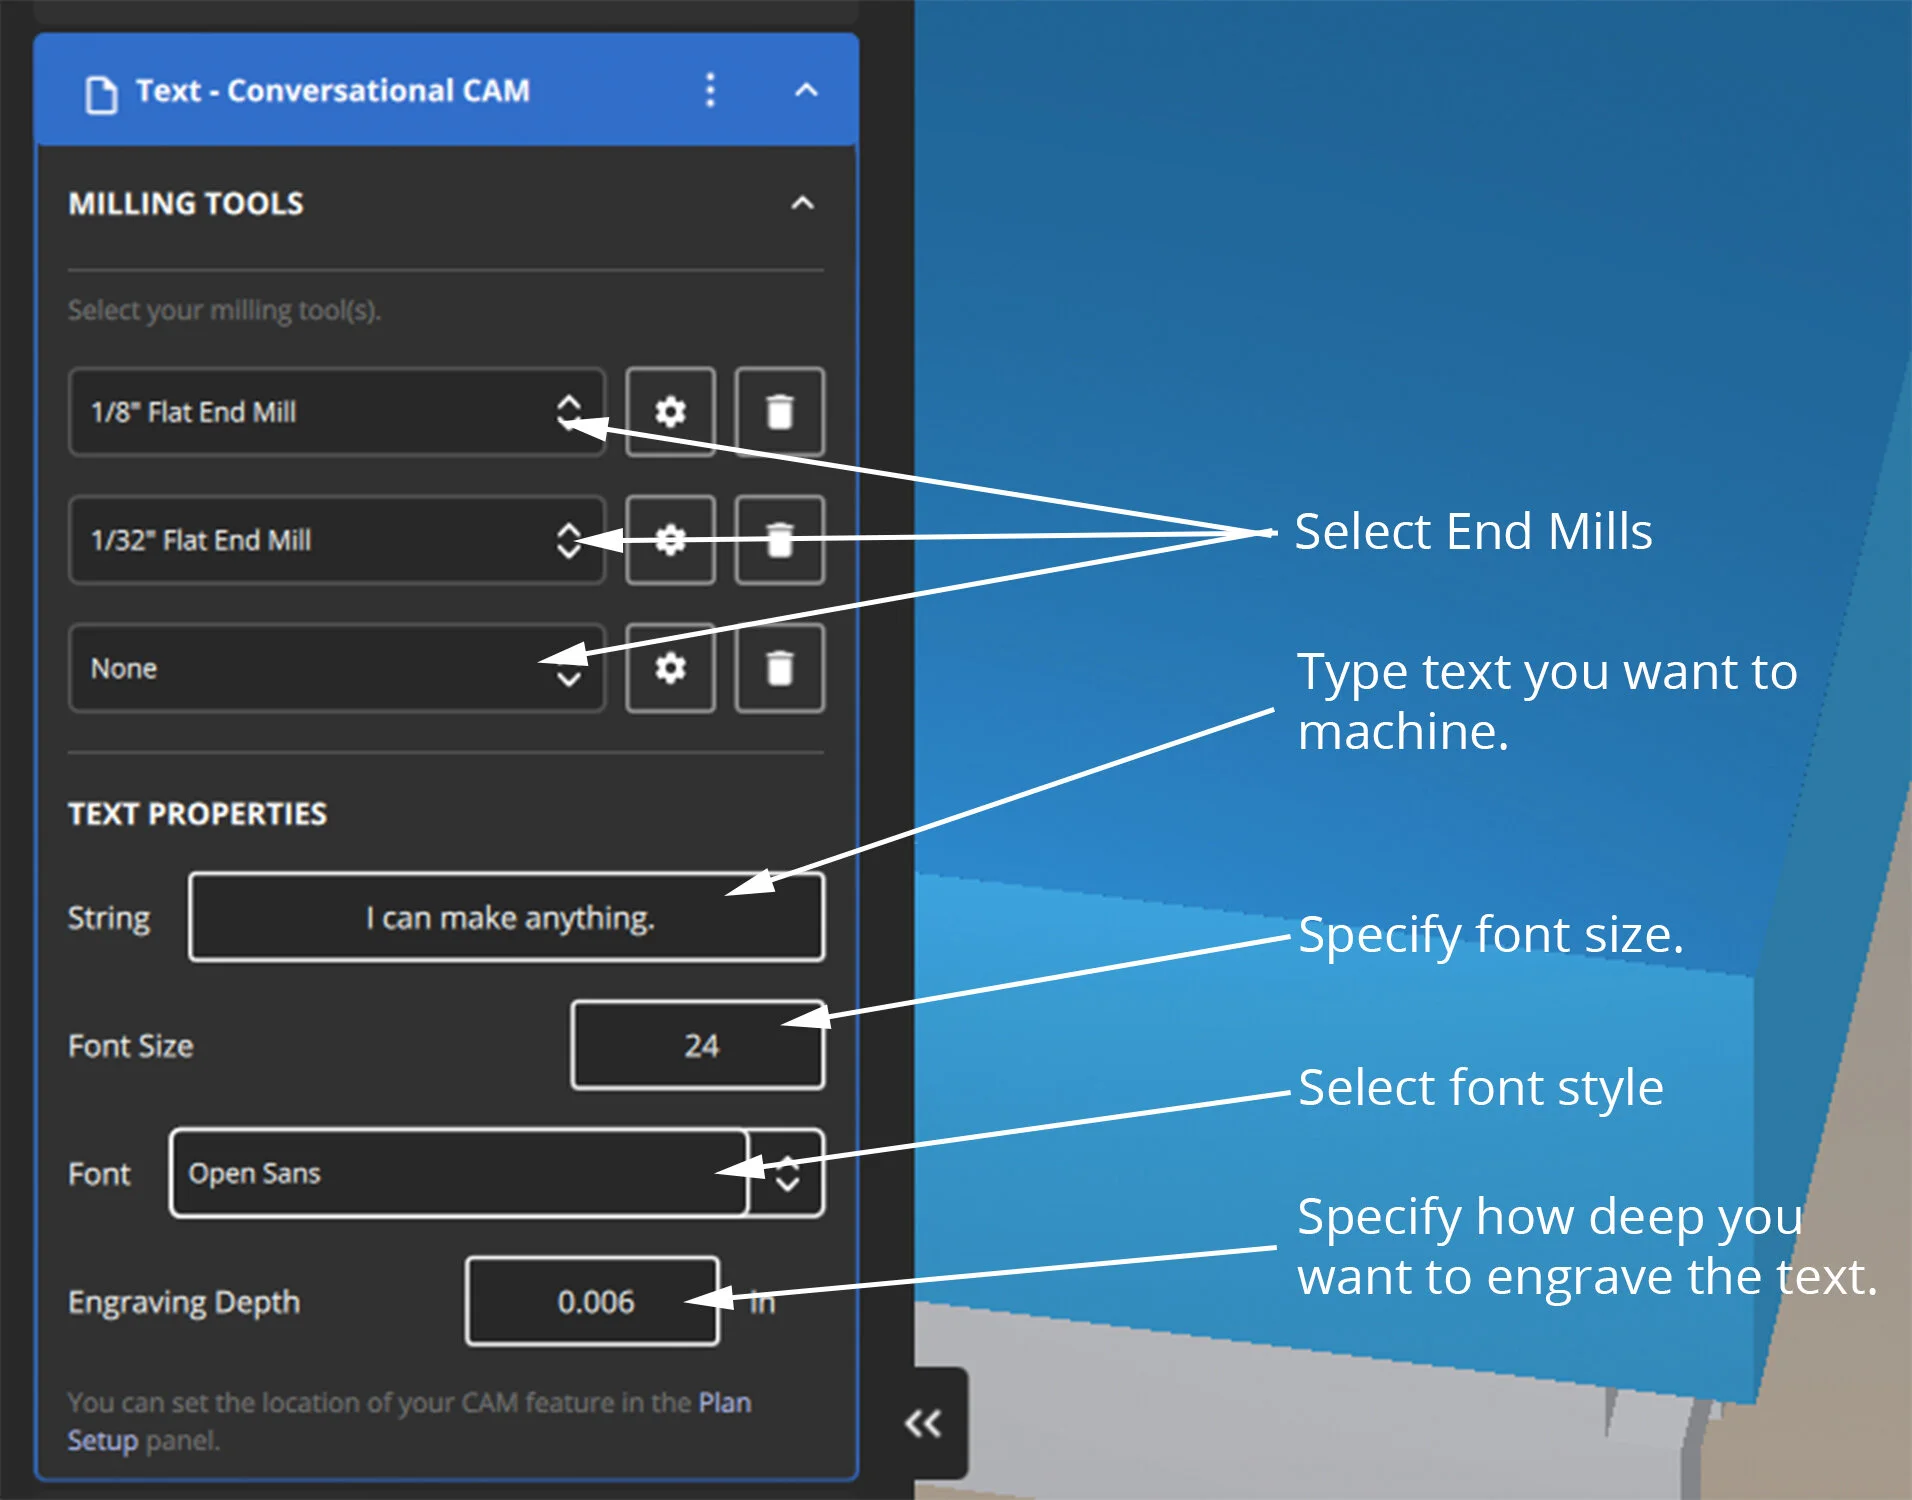
With the Conversational CAM Text feature, you can quickly generate custom text in the Bantam Tools software without having to dive back into your CAD/CAM software or vector graphics editor. To use this new feature, go to the Initial Setup tab, select New CAM, click Text, and start setting up your file.
Milling Tools: Select the tooling you’ll use to engrave the text. Tooling will depend on the size of font you select.
String: Enter the line of text you want to engrave.
Font Size: Specify the font size you want to use.
Font: All system fonts for your Mac or Windows computer are available for you to choose from.
Engraving Depth: Specify how deep you wish to engrave. We typically like to engrave at 0.003”, but this may vary depending on your design.
Bracket-Location Routines
When you navigate to the Initial Setup tab, you’ll see that we’ve added a new dropdown menu for the L-bracket and PCB bracket location-probing routines. Previously, these routines were nested in the Material Setup tab. Because these fixturing accessories need to be installed prior to setting up your stock in the Bantam Tools Desktop CNC Milling Machine, we moved them into the Initial Setup tab to make our software workflows even more intuitive.
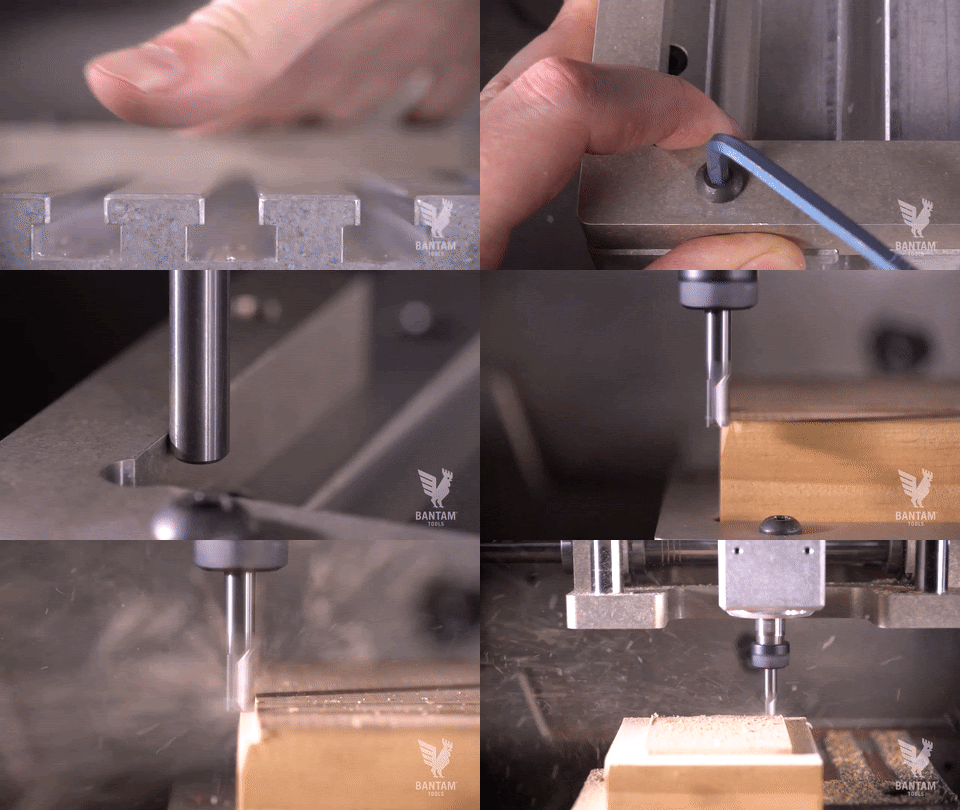
Although every Bantam Tools Desktop CNC Milling Machine comes with an L-bracket installed in the back right corner, there may be some instances where your job calls for installing the L-bracket in a different location. One example is when you’re working with non-conductive stock and want to quickly locate your material for repeat jobs.
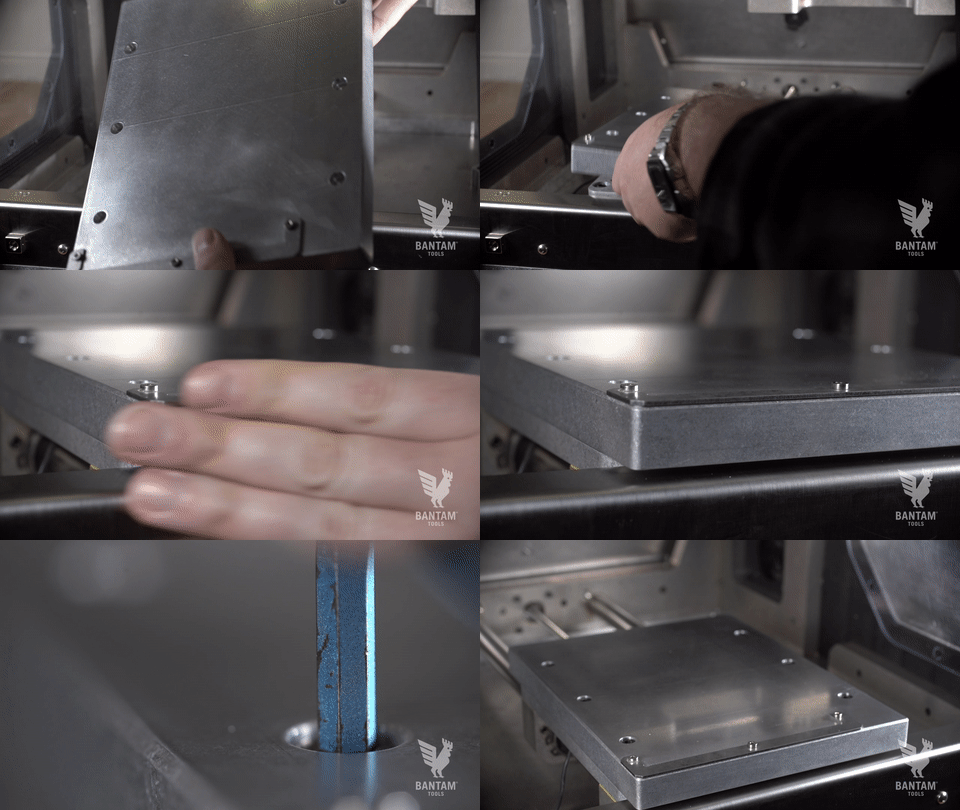
Similarly, when working with the Desktop CNC Milling Machine’s removable spoilboard, you may want to use the PCB bracket to quickly fixture FR-1 or other materials. After installing the PCB bracket, go to the Brackets dropdown menu, select PCB bracket, and follow the on-screen prompts.
As always, if you have technical questions, please reach out to us at support@bantamtools.com.


