Jesse Simpson’s Audio Electronics Collection
For the past year, we’ve had the pleasure of collaborating with electronics designer Jesse Simpson. Jesse is the mind behind the circuit board design for projects like our Atari Punk Console with Baby 8 Sequencer, Class-D Amplifier, Electret Mic Preamp, and our most recent electronics project: the Bantam Feather Synth. Jesse is a graduate of NYU’s ITP Tisch School, where he was also a Research Fellow. With a background in music, he’s drawn to audio electronics, and he’s been using our Desktop PCB Milling Machine to quickly iterate his PCB designs and streamline his prototyping process. We caught up with him earlier this month to gain more insight into this collection of electronics projects.
Since we’ve been collaborating, you’ve designed a number of audio electronics projects. What excites you about electronics and circuits?
As a child of the 90s, consumer electronics have played a huge role in my life. It wasn’t until I got a bit older, however, that I began exploring what was going on inside of them. I’m a musician and I have a great love for synthesizers, so I think that naturally led me into wanting to learn more about the process of generating sound out of an electrical signal. Over the years, I’ve loved taking that curiosity and dreaming up new custom instrument ideas and then seeing them come to fruition as I work through a design. The reward of powering up a working circuit for the first time never gets old.
Many of these projects allow people to make and record sound. Can you tell us a bit more about your musical background?
I’ve been playing music for most of my life, and I currently produce a lot of solo electronic music. There’s no doubt that this has guided my pursuits when it comes to DIY electronics projects. I think a great example is the Atari Punk Console (APC) with Baby 8 Synth. It was one of my favorites out of our collaborations because it creates fun, complex sounds through the use of relatively basic open-source circuits. I see a lot of parallels here with my approach to musical composition, as I’m often trying to evoke intricate patterns through creating simple algorithmic systems.
You’ve put together an awesome collection of projects for Bantam Tools PCB mill users to learn about electronics. How would you describe the collection?
I look at these designs as great introductions to electronics and PCB fabrication. There are eight in total, and while they range in difficulty, all of them fit within an afternoon or weekend build schedule. They’re excellent for anyone who just got a CNC machine and is looking to get some reps in. Within a few hours, you can build yourself a class D audio amplifier that will last you for years or a solenoid driver board to power your tabletop pinball machine. These types of projects are intended to be fun one-offs that could be developed into something further or just get you on your way to making something without the heavy lifting of designing it yourself. A few of the projects make use of an Arduino microcontroller, which is a good starting point for anyone with a little coding experience or those who want to get their feet wet.
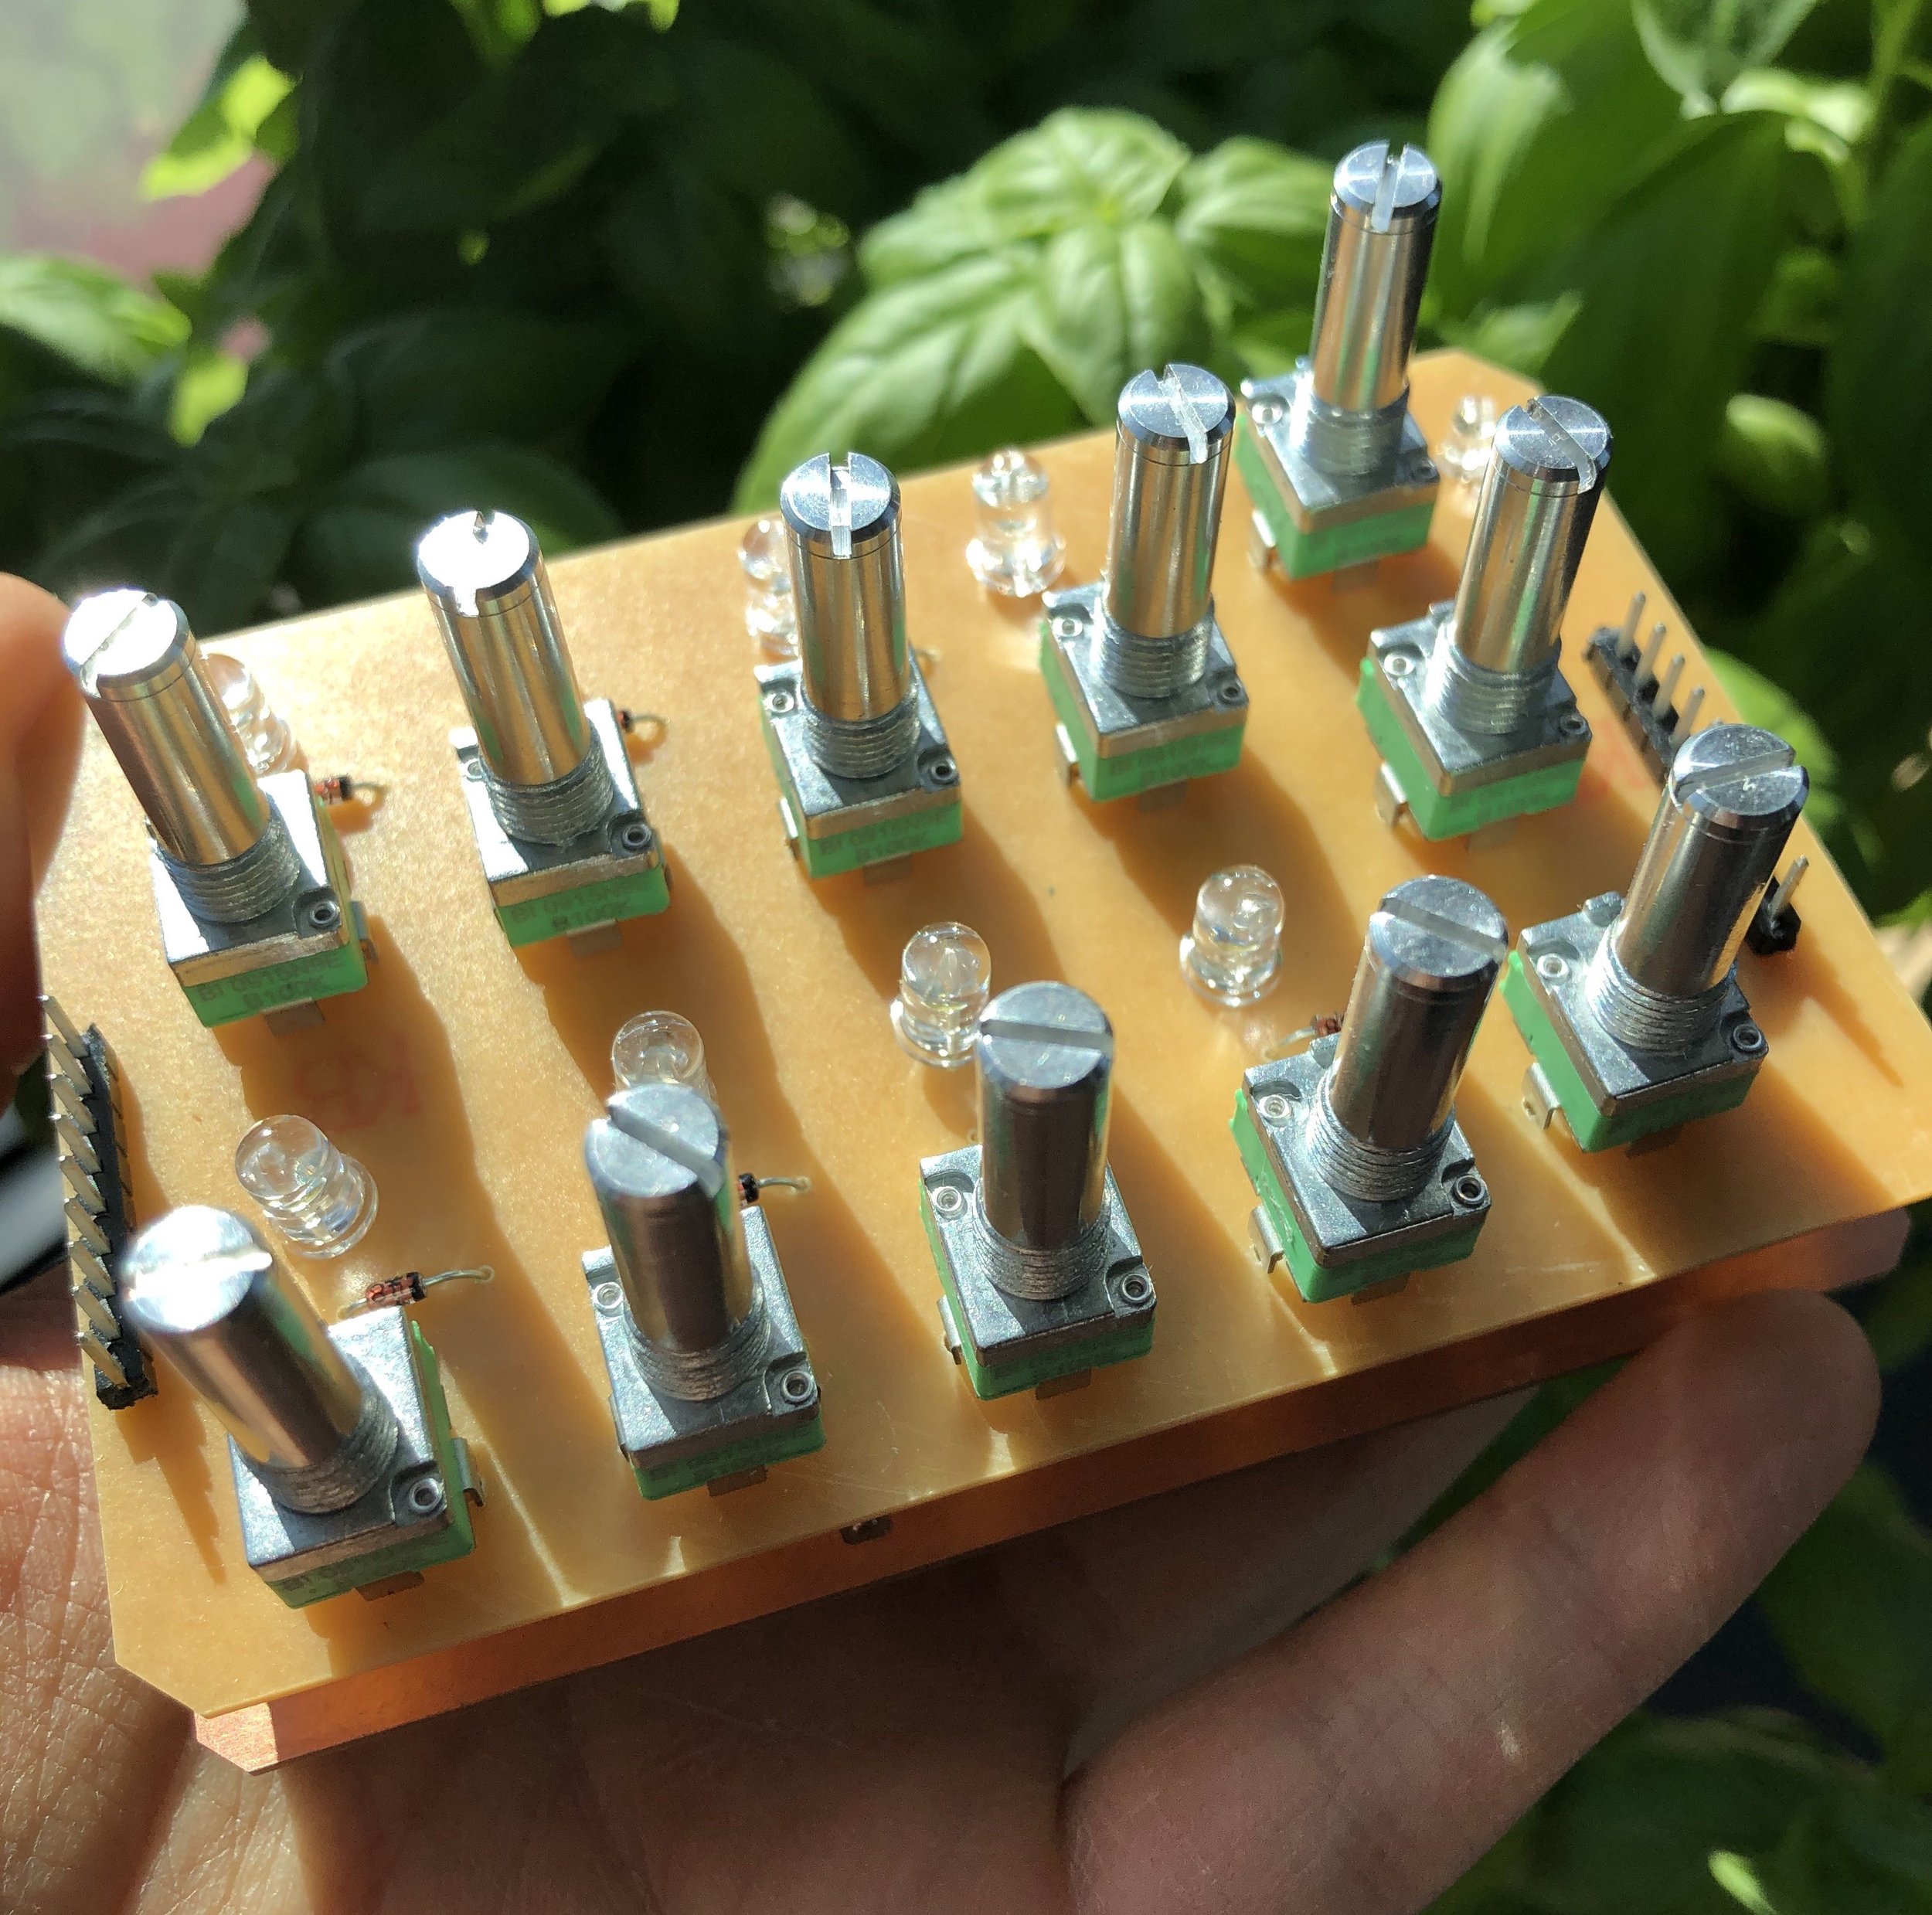
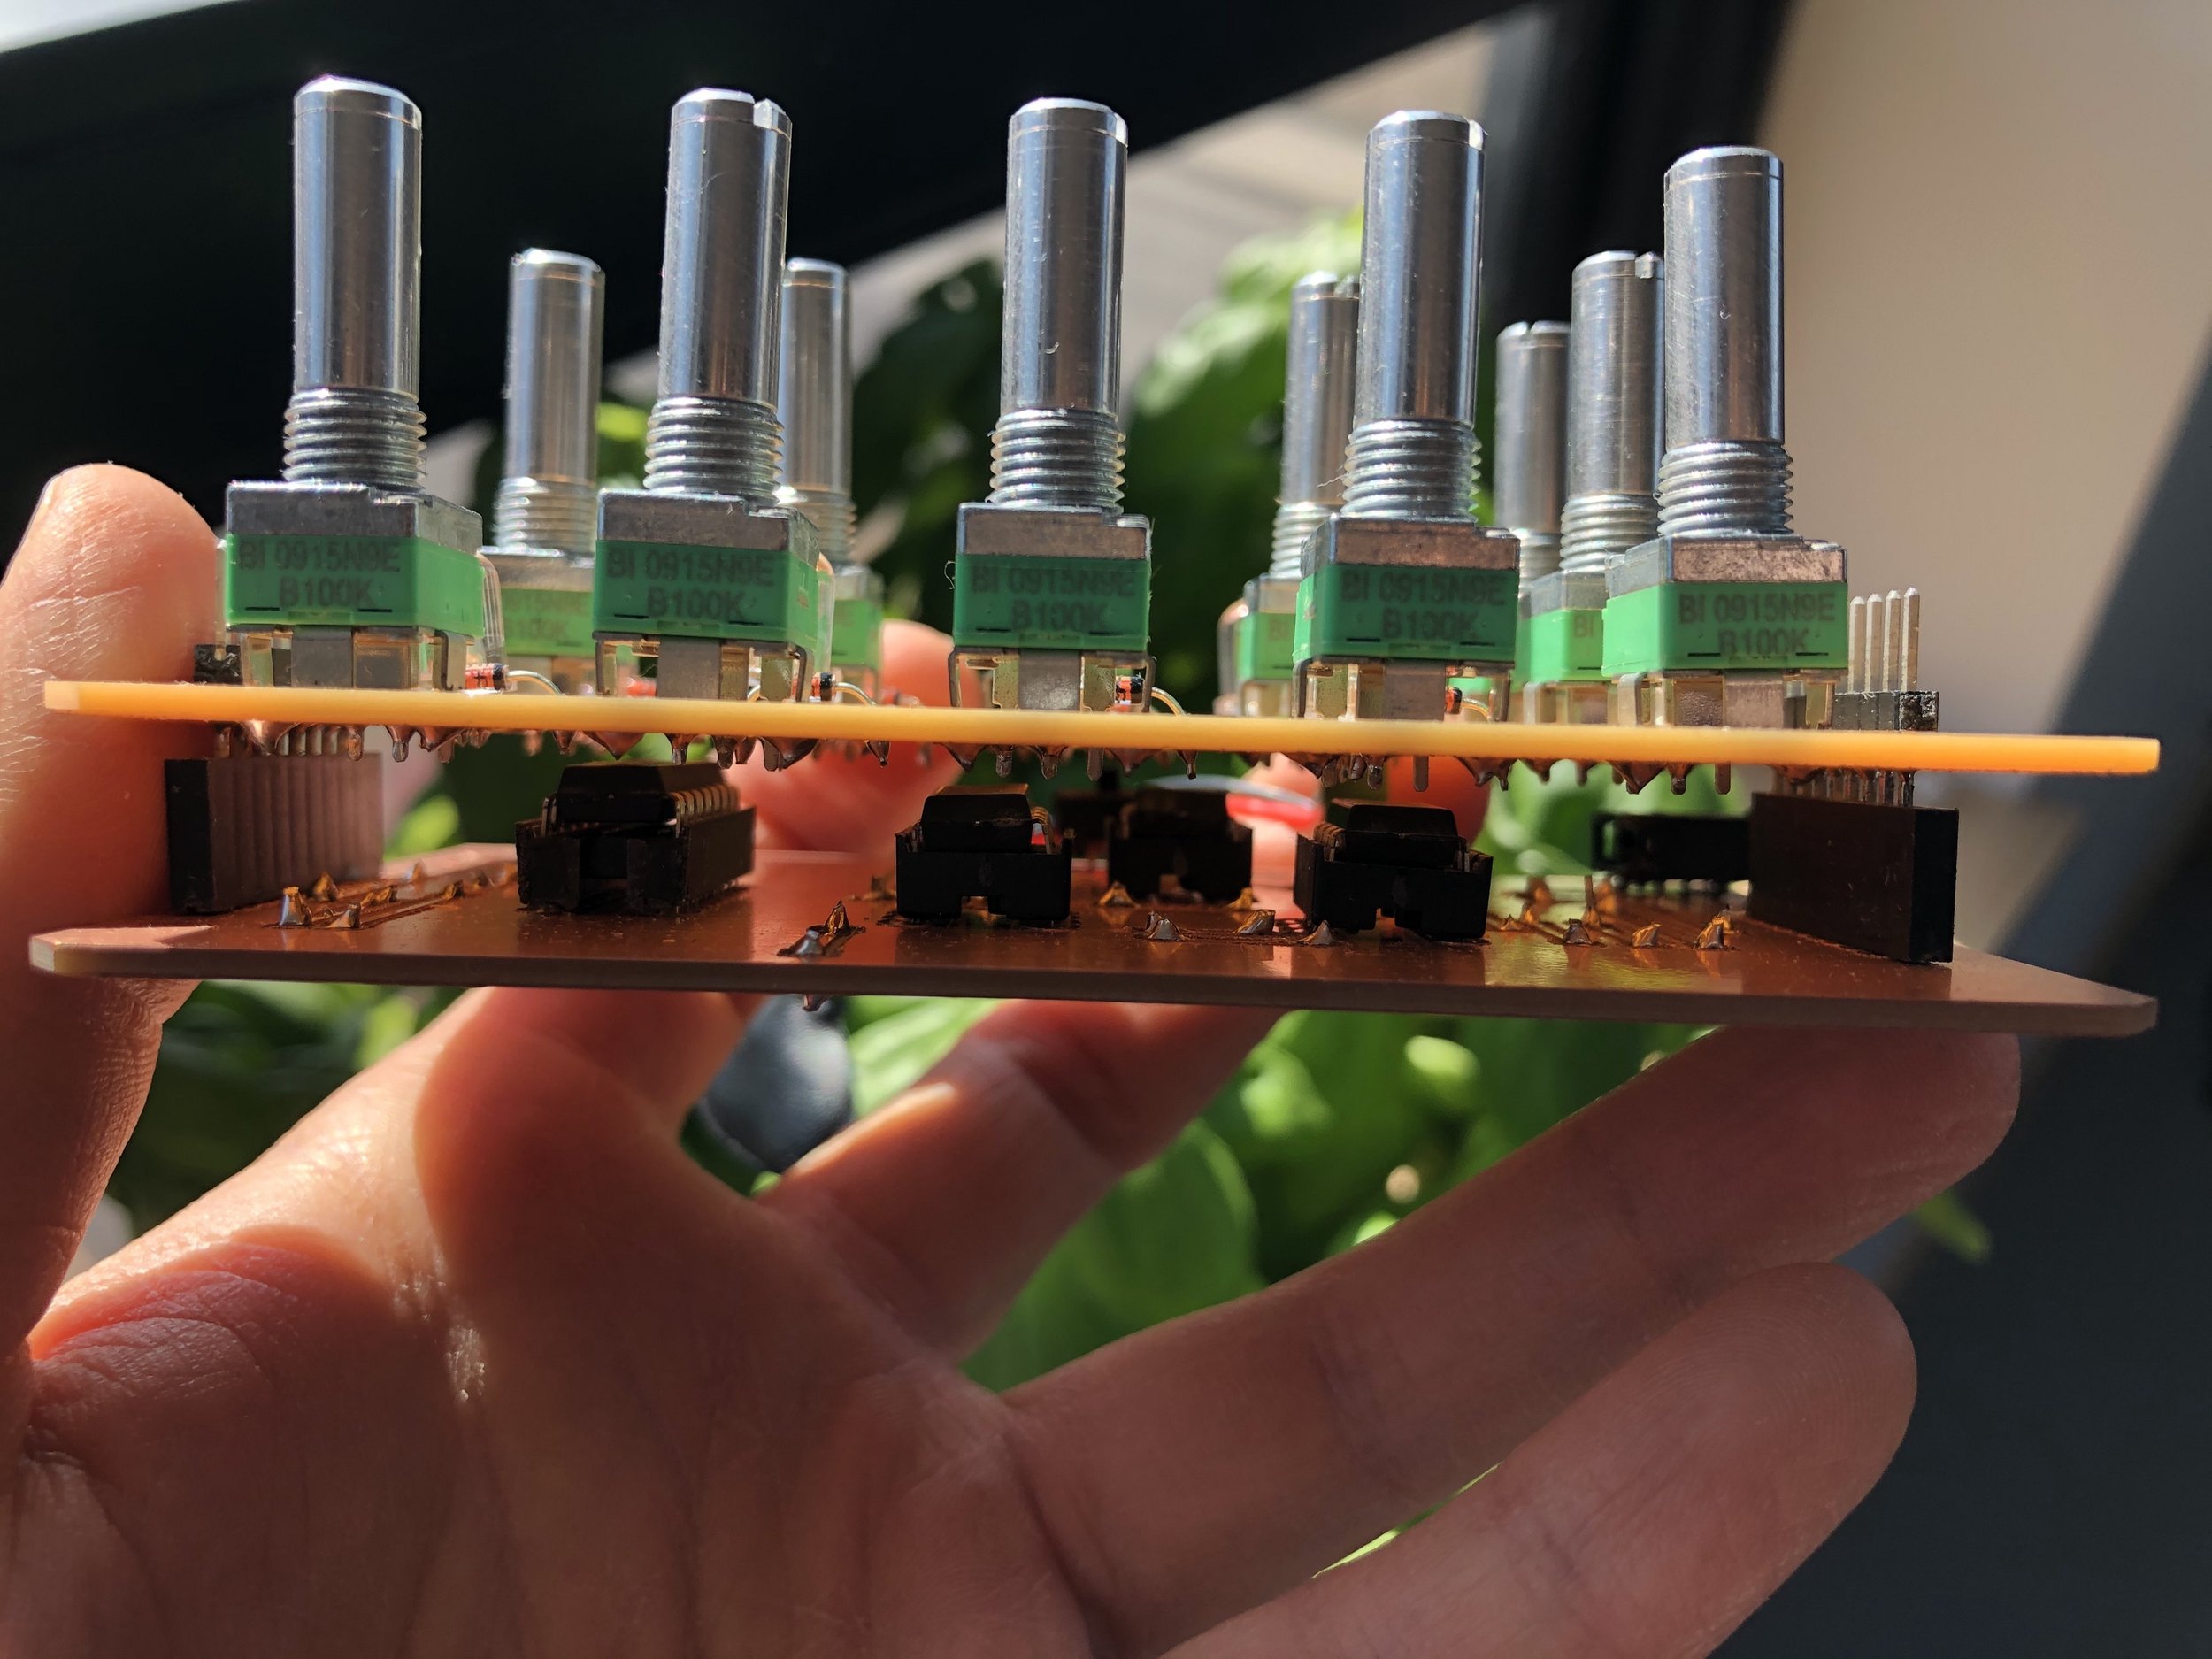
Left: Class-D Amplifier; Center: Solenoid Driver; Right: ATtiny Programming Jig
Before collaborating with us, did you have prior experience with CNC machining or other digital fabrication tools?
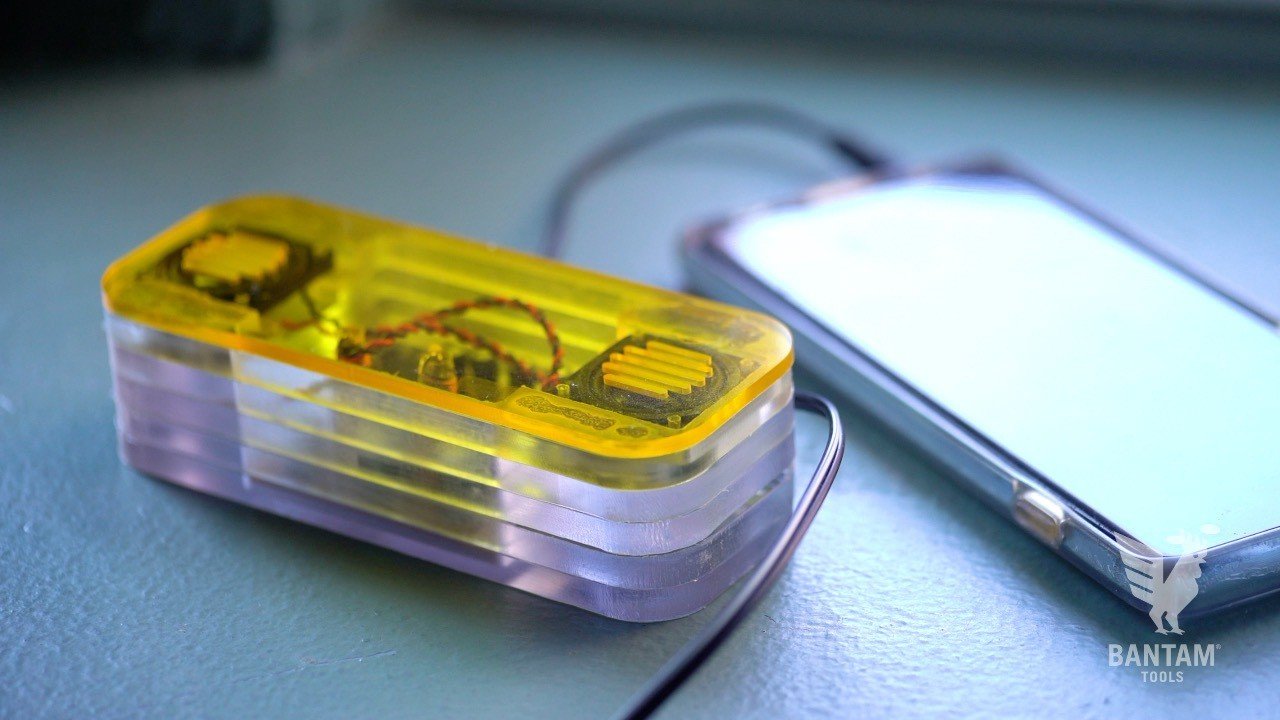
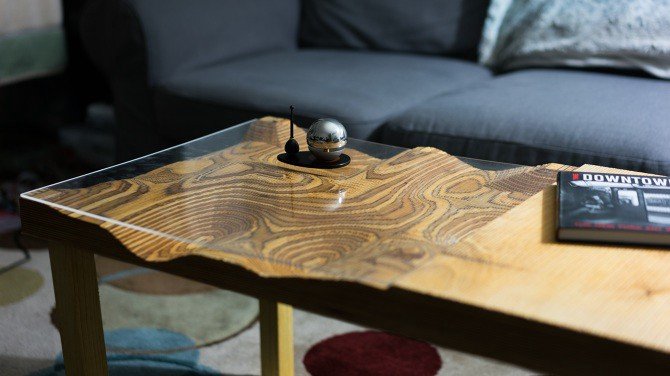
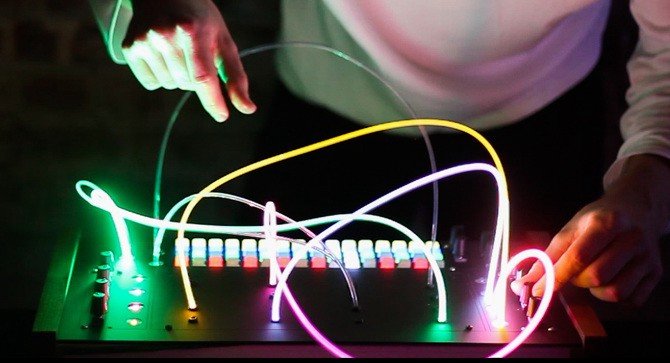
Yes, I did, especially over the past several years while I was a graduate student and later as a Research Fellow, at NYU’s Interactive Telecommunications Program (ITP). During my time at ITP, I dove deeply into their digital fabrication tools for a wide variety of projects. One of my early CNC projects was a coffee table design driven by Perlin noise data. That project took advantage of the CNC’s third axis to create an accurate representation of the data in hardwood. I went on to use ITP’s laser cutters, 3D printers, and PCB mills in most of my projects that followed. My thesis project, LIME, made use of all of these machines together to create a patchable MIDI controller that uses fiber optic cables and light to control music software.
On the left is Jesse’s Perlin noise table and on the right is his patchable MIDI controller.
How has the Desktop PCB Milling Machine helped you develop electronics projects?
The PCB mill has allowed me to rapidly iterate on my designs. If you’ve ever ordered PCBs from a fab shop, it’s possible, or even probable, that you’ve experienced the frustration of having them arrive only to find that a small design error has made them unusable. Having the ability to fabricate boards myself cuts those turnaround times, allowing me to quickly catch and iron out those problems without having periods of lag disrupting the process. This means arriving at final designs in a more streamlined fashion. Similarly, while working on the collaborations with Bantam Tools, I really felt the joy of being able to move from breadboard to PCB in a matter of hours, not days. It’s been a major asset to my process and productivity.
The most recent electronics project we collaborated on was the Bantam Feather Synth. Can you tell us more about it? What does it do and who might be interested in making/using this synth?
Sure, such a fun project! The Bantam Feather Synth is a tabletop synthesizer that’s great for non-musicians and musicians alike. It’s centered around the Adafruit Feather M4 Express, which is a really powerful little board. It creates a constantly changing melody that stays in tune with the key and scale that you select using the knobs. Also, If you’re already a musician and play another instrument, you could use this synth to accompany you while you jam.
From a hardware standpoint, the PCB is a quick and simple build with just a few components. What’s really nice about it is that the hardware design can serve as a development platform for further audio projects with the Feather. If you know how to write Arduino code, you can use the sample program as a starting point, or start from scratch to build a brand new synthesizer using the same hardware. Also, Zach (from Bantam Tools) designed a slick enclosure for the project! And then the entire project was milled on the new Desktop CNC Milling Machine.
Using the circuit board Jesse prototyped using the PCB mill, we machined the Bantam Feather Synth using the new Desktop CNC Milling Machine.
Using the circuit board Jesse prototyped using the PCB mill, we machined the Bantam Feather Synth using the new Desktop CNC Milling Machine.
Aside from the Desktop PCB Milling Machine, what are three tools you can’t live without? Why?
Soldering iron: Because I do a lot of soldering!
Multimeter: I’m constantly using my multimeter to check boards for continuity, measure voltage, troubleshoot issues, etc. It’s always close by.
Laptop: Most of my design work happens in software, so I’d be lost without my laptop. EAGLE, Rhino, Arduino, and Javascript are all essential to my workflow.
What are three tips you’d offer electrical engineers or designers using the PCB mill for the first time?
Don’t hesitate! Find a project that you want to build and go for it. The faster you get comfortable using your machine, the more stuff you’ll end up making.
Join the community and use it to your advantage. There are a lot of great resources available for free online, including open source projects, blogs, and dedicated forums.
Use the bit fan!
About Jesse Simpson
Jesse is a graduate of Interactive Telecommunications Program (ITP)’s Tisch School. Based in Brooklyn, NY, he’s a passionate designer and technologist with strong interests in creative coding, generative design, and physical computing. He’s also a strong advocate of technology for the enhancement of self-expression and education.
You can follow his work on Github, Instagram, and his website.
Bantam Tools Audio Electronics Projects by Jesse Simpson
Follow Bantam Tools on Instagram, Facebook, Twitter, and be sure to subscribe to the Bantam Tools mailing list to receive more content like this. And if you give any of these projects a try, be sure to tag us and Jesse!

